 |
| Click through for the full-sized photo |
20130227
22 hands
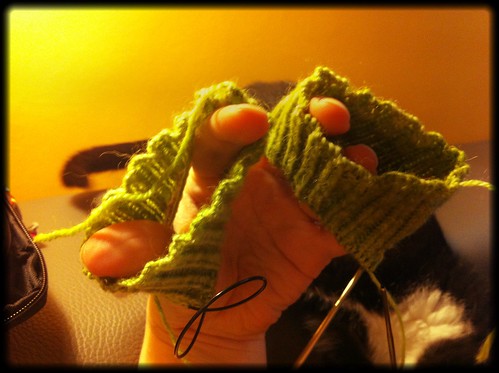
During the last five years of knitting together, AJ has taken various snapshots of my hands in action. I always look forward to seeing those photos in her albums, and asked her to turn them into a collage for this blog.
Big round of applause!
20130222
1st law of craft photography
20130221
Bruges SnB
We've been dilligently posting blog updates ever since, much depending on Ameria's lovely photography.
| Read the blog |
20130220
Kissie
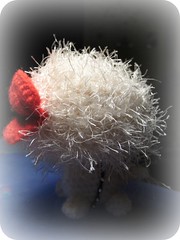
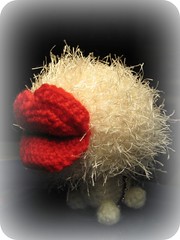
Once upon a long time ago, I wrote a pattern for a creature seen in a soda commercial:
Kissie
Materials:
Worsted
weight yarns in white and red
Eyelash
yarn white
Crochet
thread in brown or black
Crochet
hooks: 1, 5mm, 3,0mm and 3,5 mm
Beads
Stitch
markers
Tapestry
needle
~°~
Instructions:
Legs &
body in white worsted weight yarn
Head &
tail in white worsted weight yarn held together with white eyelash yarn
Lips in red
worsted weight yarn
Collar in
crochet thread
4 legs:
R1: Magic
Loop, sc 6
R2- R4: sc
6
Finish,
leave long yarn tails for sewing
Tail:
Work in
rows, not rounds
R1: ch 3
R2: sc 2
Finish,
leave long tail for sewing
Body:
R1: Magic
Loop, sc 6
R2: *2sc in
1* to end = 12sc
R3: *1 sc,
2sc in 1* to end = 18sc
R4 – R
10: sc all = 18 sc
R11: *1 sc,
1sc in 2* to end = 12sc
R12: 1sc in
2 = 6sc
Finish,
leave long yarn tail for sewing
Head:
R1: Magic
Loop, sc 6
R2: *2sc in
1* to end = 12sc
R3: *1 sc,
2sc in 1* to end = 18sc
R4: *2sc,
2sc in 1* to end = 24sc
R5: *3sc,
2sc in 1* to end = 30sc
R6: *4sc,
2sc in 1* to end = 36sc
R7 – R9: sc
all = 36
R10: *4sc,
1sc in 2* to end = 30sc
R11: *3sc,
1sc in 2* to end = 24sc
R12: *2sc,
1sc in 2* to end = 18sc
R13: *1 sc,
2sc in 1* to end = 12sc
R14: *1sc
in 2* to end = 6sc
Finish,
leave long yarn tail for sewing
2x lips:
R1: Magic
Loop, sc 6
R2: *2sc in
1* to end = 12sc
R3: *1 sc,
2sc in 1* to end = 18sc
R4: *2sc,
2sc in 1* to end = 24sc
R5: *3sc,
2sc in 1* to end = 30sc
Upper lip:
Fold in half, make sure points of hexagon align and close half way with sc.
Ch1, turn,
sc to
lowest point, ch1, turn, sc back to center. Fasten off, leave tail for lip
shaping.
Work other
side from bottom corner to center in the same way.
Collar:
Slip 10 –
15 beads on crochet thread, ch2, bring bead up, include in next ch2 until chain
equals
body
circumference. Fasten off.
~°~
Finishing:
Sew legs
and tail to body. Make sure the legs are spread rather far apart, to provide
stability.
Sew head to
body. Leave enough space for head movement, as balancing the huge head on the
tiny body
will depend on bending the doll a little bit.
Shape upper
lip by securing the ends of red yarn, then attach lips to head.
Join collar
under the body and secure the ends.
For the winter babies
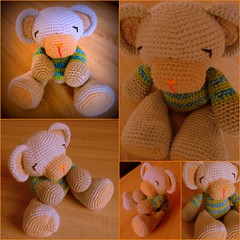
Yesterday I sent off two baby presents, today I learned that they arrived.
I made the large bear using a little-known Thai pattern, published on Sayjay's blog, translated by Jaimai.
20130219
The mascot
One day, remembering that we had talked about my involvement with a group of people who re-build film sets and re-create costumes, my boss came to my office, asking if said group could provide a mascot for the company. That's not really their cup of tea and I knew I would end up sewing the mascot.
I had a week and a decent budget.
When I showed the result to the boss, he blinked away a couple of tears.
Subscribe to:
Comments (Atom)
